


Why Homeowners Choose Metal Roof Installation
Before diving into the process, it helps to understand why metal roofing has become so popular.
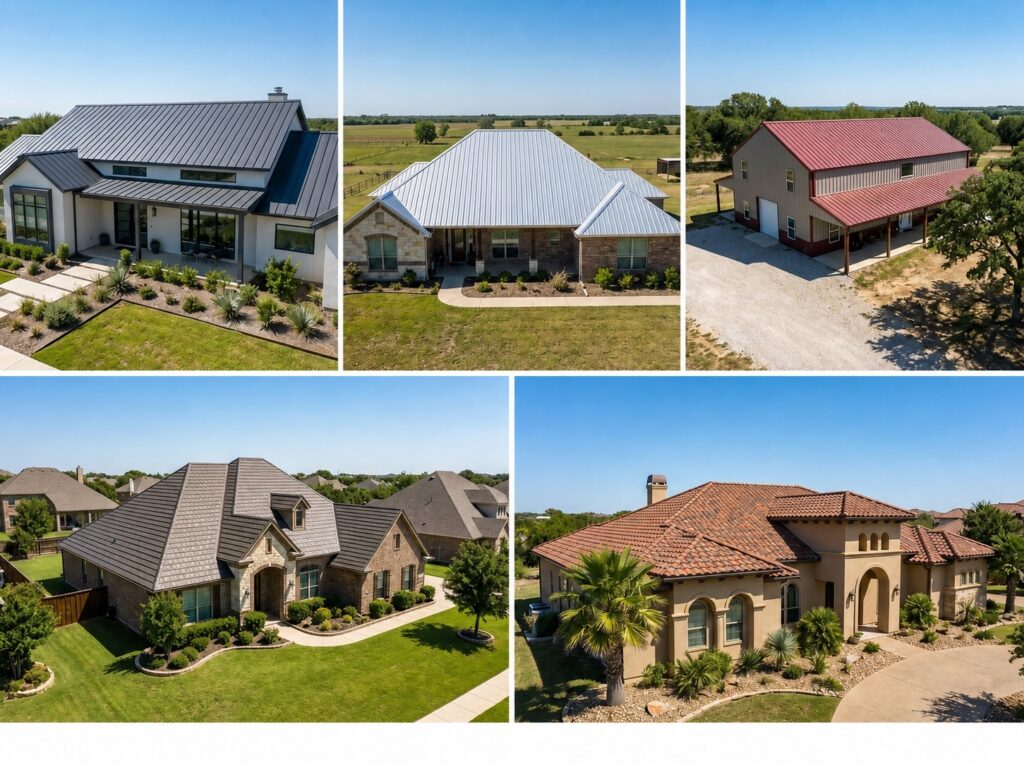
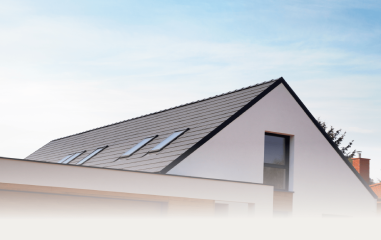
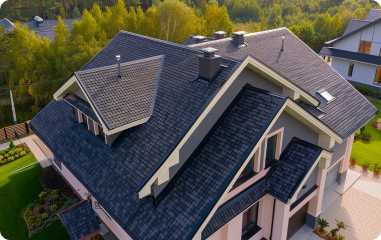
Metal roofs are known for their durability, longevity, and resistance to extreme weather. They can last decades longer than traditional shingles and perform well in high winds, heavy rain, and intense sun. Many homeowners also appreciate the clean, modern look and the potential energy savings metal roofing can offer.
Because metal roofing is a premium system, proper installation by roofing professionals is critical. That is why knowing what to expect matters.
Step 1: Initial Inspection and Planning
Every metal roof installation begins with a thorough inspection of your existing roof and structure.
A roofing professional, like M&M Roofing, Siding, and Windows, will assess the condition of your current roof, decking, flashing, ventilation, and attic space. Measurements are taken to ensure accuracy, and any potential challenges are identified early.
Clear planning upfront helps prevent delays and surprises later.
Step 2: Material Selection and Ordering
Metal roofing is not a one-size-fits-all product. Homeowners typically choose from several panel profiles, finishes, and colors.
Options may include standing seam panels, exposed fastener systems, or specialty metal styles designed to mimic traditional roofing materials. Each option has different performance characteristics and visual appeal.
Once selections are made, materials are ordered and often custom-cut to fit your roof.
Proper ordering ensures a clean installation and reduces waste.
Step 3: Preparing Your Property
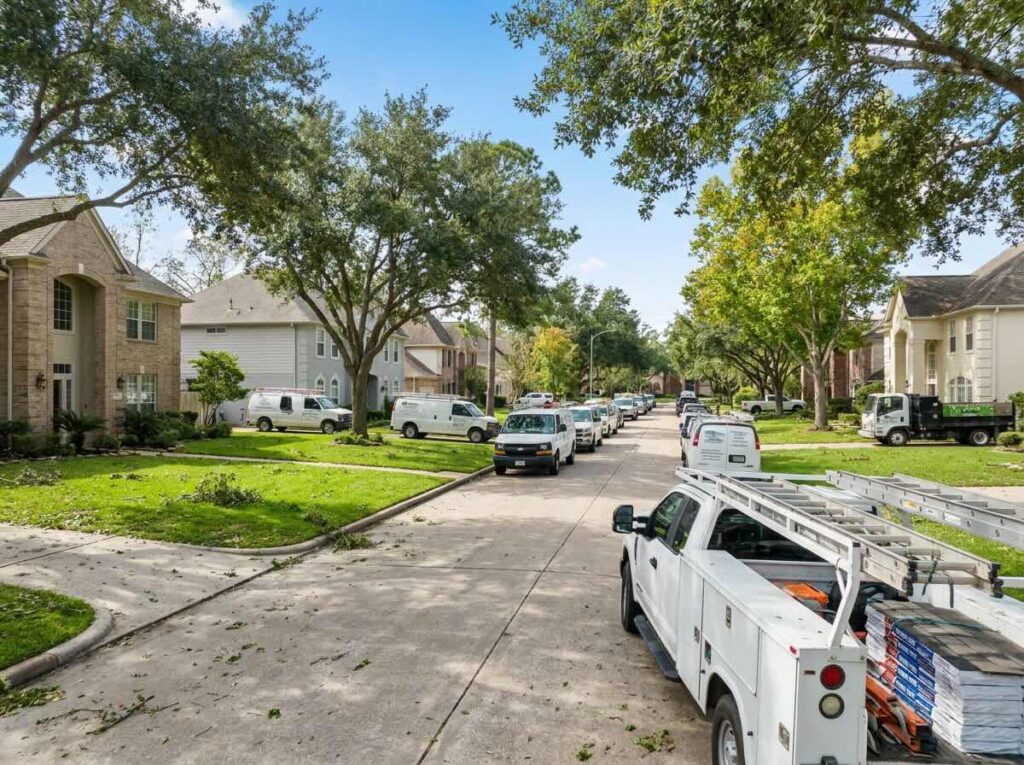
Before installation begins, your contractor will prepare the work area.
This includes protecting landscaping, driveways, and outdoor furniture. Tarps may be placed around the home to catch debris, and vehicles should be moved away from the house.
Inside, it’s normal to hear noise during installation. Vibrations and sounds from tools and foot traffic on the roof are expected.
Preparation helps keep your property safe and the installation organized.
Step 4: Removing the Old Roof
If roof removal is required, the old shingles or materials are stripped down to the roof deck. This allows the contractor to inspect the decking for damage or rot and make any necessary repairs.
While removal adds time to the project, it ensures the metal roof has a solid foundation. Skipping this step when it is needed can lead to problems later.
Step 5: Inspecting and Repairing the Roof Deck
Once the old roofing material is removed, the roof deck is carefully inspected.
Any damaged or weakened sections of decking are replaced. This step is critical, as metal roofing systems rely on a strong, even surface for proper performance.
Addressing decking issues before installation helps prevent future leaks and structural problems. It also ensures the metal panels sit flat and secure.
Step 6: Installing Underlayment and Moisture Barriers
Underlayment acts as an additional layer of protection between your roof deck and metal panels.
High-quality underlayment helps prevent moisture intrusion, reduces noise, and improves overall roof performance. In some cases, ice and water barriers are installed in vulnerable areas like valleys and eaves.
This layer is especially important in areas with heavy rain or sudden temperature changes. Proper underlayment installation contributes to the longevity of the metal roof.
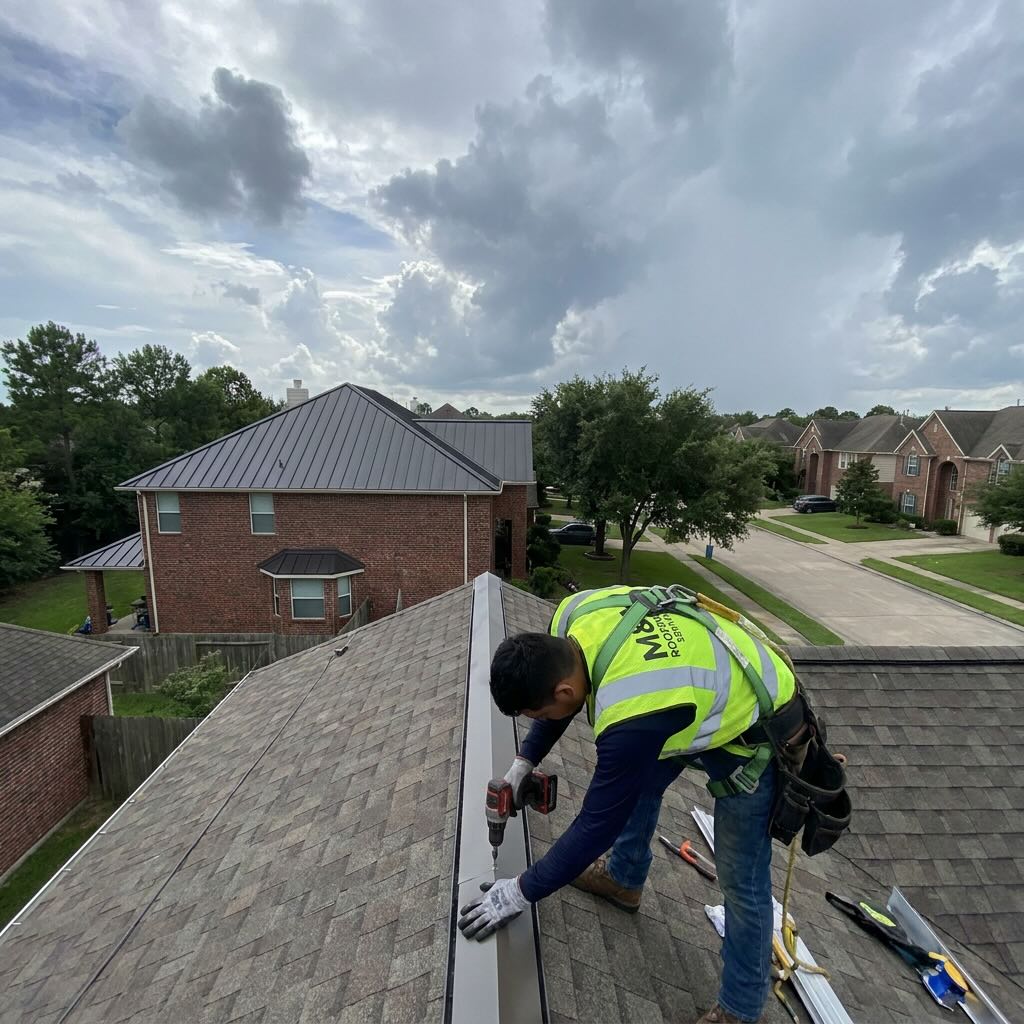
Step 7: Installing Flashing and Trim Components
Before the metal panels go on, flashing and trim are installed around roof penetrations and edges.
This includes areas around chimneys, vents, skylights, valleys, and roof transitions. Flashing directs water away from vulnerable areas and ensures a watertight seal.
Metal roofs depend heavily on precise flashing installation. Skipping or rushing this step can lead to leaks, even if the panels themselves are installed correctly.
Step 8: Installing the Metal Panels
This is the most visible part of the process and often the stage homeowners are most curious about.
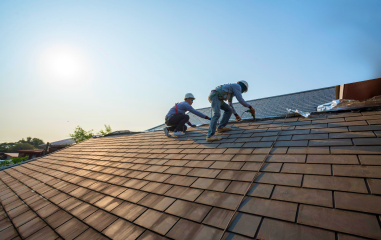
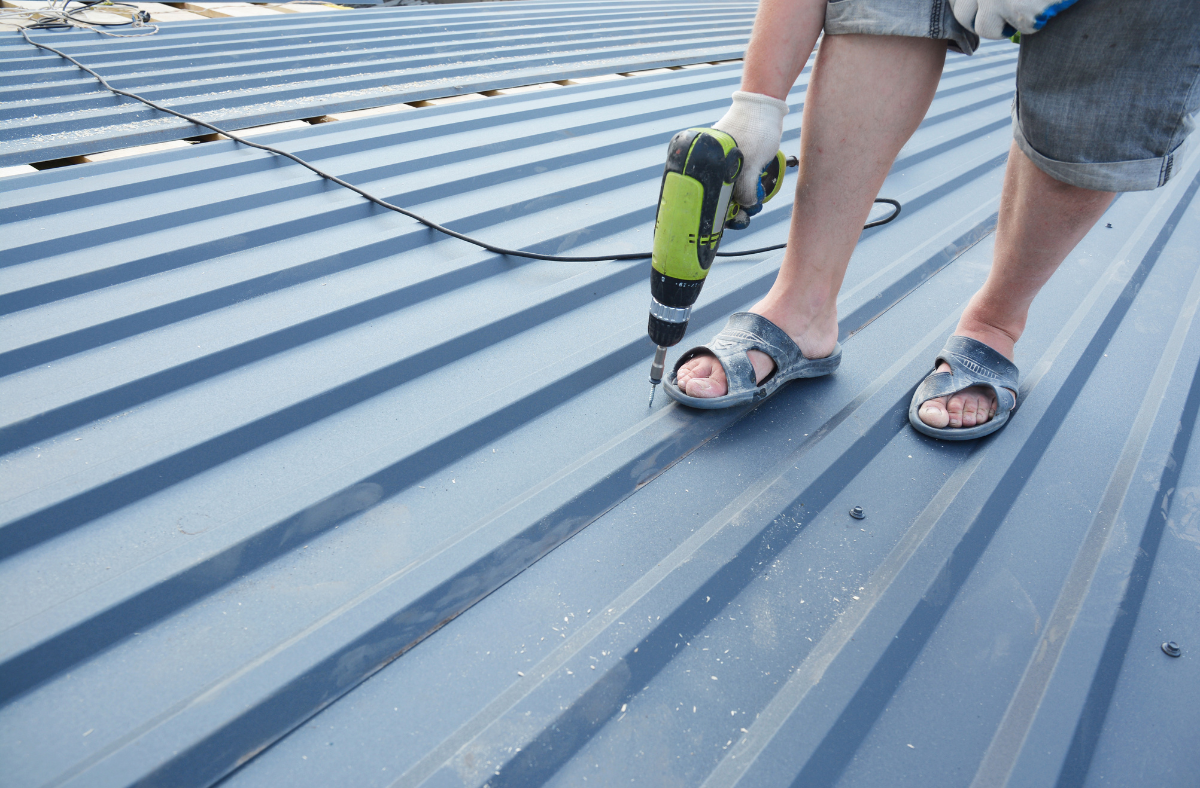
Metal panels are installed systematically, starting at the edge of the roof and working upward. Panels are aligned carefully to ensure straight lines and proper overlap.
Depending on the system, panels may be fastened with concealed clips or exposed fasteners. Standing seam systems use hidden fasteners, which provide a sleek appearance and allow the metal to expand and contract with temperature changes.
Precision during this step is critical for both appearance and performance.
Step 9: Securing Fasteners and Seams
Metal expands and contracts with temperature changes, so fastening systems are designed to accommodate movement.
Fasteners are installed according to manufacturer specifications to prevent loosening or damage over time. Seams are secured and sealed as needed to ensure water resistance.
This attention to detail helps prevent issues like oil canning, panel movement, or premature wear.
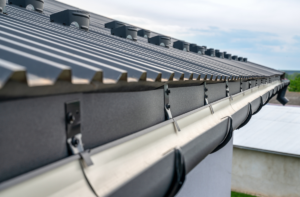
Step 10: Installing Ridge Caps and Final Trim
Once the panels are in place, ridge caps and finishing trim are installed.
Ridge caps cover the roof’s peak and help vent hot air from the attic. Proper ventilation is essential for maintaining energy efficiency and preventing moisture buildup.
Final trim pieces give the roof a clean, finished appearance and protect exposed edges from the elements.
Step 11: Final Inspection and Quality Check
After installation is complete, a thorough inspection is performed.
The contractor checks panel alignment, fasteners, flashing, and seals. Any adjustments are made to ensure everything meets quality standards and manufacturer requirements.
This final walkthrough ensures your metal roof is installed correctly and ready to perform as designed.
Step 12: Cleanup and Post-Installation Care
Professional roofers take cleanup seriously.
Debris is removed, magnetic tools are used to collect stray fasteners, and the property is returned to its original condition as much as possible.
Homeowners are also given guidance on basic maintenance and care. Metal roofs are low maintenance, but periodic inspections help maximize lifespan and performance.
How Long Does Metal Roof Installation Take?
Most metal roof installations take several days, depending on roof size, complexity, and weather conditions.
Larger or more complex roofs may take longer, especially if structural repairs are needed. Weather delays are also possible, as metal roofing requires dry conditions for proper installation.
Your contractor should provide a timeline before work begins and communicate any changes along the way.
What to Expect After Installation
Once your metal roof is installed, you may notice immediate benefits.
Homes often feel more energy efficient, especially during hot months. The roof’s appearance can dramatically improve curb appeal, and homeowners gain peace of mind knowing their roof is built to last.
Metal roofs are designed to withstand severe weather and require less maintenance than many traditional roofing systems.
Final Thoughts
A metal roof installation is a detailed, carefully planned process. Knowing what to expect helps homeowners feel confident and prepared every step of the way.
From inspection and preparation to final cleanup, each phase plays a critical role in the roof’s long-term performance. When installed properly, a metal roof is an investment that delivers durability, efficiency, and lasting value.
If you are considering a metal roof, call M&M Roofing, Siding, and Windows today. We’ll do a FREE roof inspection and guide you on next steps.
M&M Roofing, Siding & Windows has served homeowners across Texas and Louisiana for more than 40 years. Backed by over 100,000 completed home improvement projects, M&M offers expert insight on roofing, siding, windows, gutters, storm damage, and exterior restoration, helping homeowners make confident, informed decisions about their property.